Spring Splendor Actions
Once I’d gotten my grubby little paws on the MCP Actions Spring Splendor Actions, I couldn’t WAIT to properly sit down and edit photos from my session with Bella, Harriet and their mum, Karen! I know photographers have mixed reactions about using actions and presets (if you’re using Lightroom to process images). I’d been using Photoshop for a good number of years as a digital scrapbooker (see my reeeeaaaaaaally old posts dating back to 2007/2008) and once Lightroom came along, I *just* couldn’t make the transition to fully edit images in the new Adobe offering.
My work process
I do some minimal work in LR and then export and run through my go-to batch actions in Photoshop CC. Running batch actions reduce processing time by a HUGE amount. There are standard edits I’ll administer and then I’ll fine-tune images with manual edits and some of my favourite actions. I mostly stuck to the same edits in the following images, mainly because I was just getting to know these actions and how they’d work with my images. My thinking is once you’re comfortable with a set, you know what your editing play will be like, how much to reduce opacity, where to paint on colour, etc.
Using the Spring Splendor Actions
How hard can using a set of actions be? EASY PEASY! Click run and voila! A little tweaking here and then and Bob’s your uncle :) Take a look at my before/after versions of these images and what my editing recipes were. My manual edits on all images included popping the colour, adding contrast, fixing up blemishes and popping the eyes. Considering how light the base actions made the images, I’d stay clear of lightening any images before running. You can always lighten up after your basic edits are completed if required. I left the base action folder as it was for these images.
Little Miss Harriet 
|
Miss Bella 
|
These boots are made for walking! 
|
Awwww Bella and Mum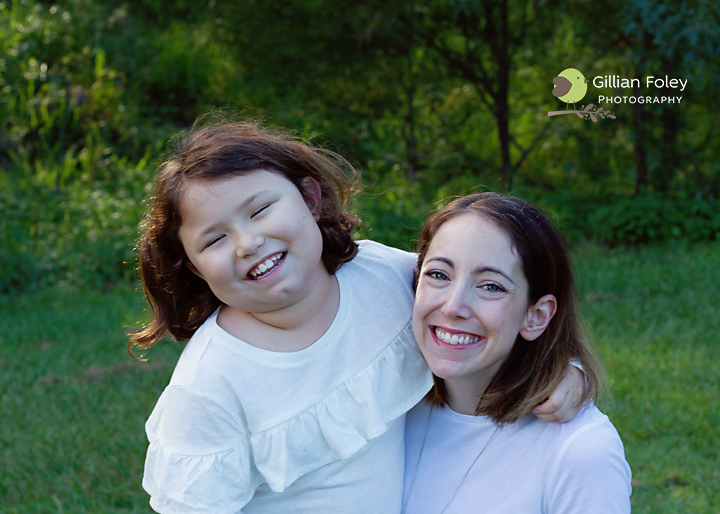 
|
Mr Bunny! 
|
I include this last version of this image, simply because I’m a sucker for black and white images! Coffeeshop Actions have a version of this BW action – I used TRA’s Bitching black and white (with a few hand edits) for the conversion:  |
It’s always hard to pick one or two favourite images from a session and this was no different! The Spring Splendor Actions are super easy to use (as one would expect) and can really add that *something extra* to any image, depending on the look you’re going for. Check out this set and the rest of the actions at MCP Actions!
Do you use actions? Presets? Which are your go-to sets? Let me know in the comments section below! If you’re keen to connect, contact me via Facebook or my contact form.
~ Gill :)
