Make a fringe blanket prop
Continuing the DIY photography prop theme, and as I mentioned it in my previous post, I thought I’d share with you how to make a fringe blanket prop for photo shoots. It’s pretty straightforward and looking around on Pinterest or elsewhere will yield a good few ideas on how to make this easily and quickly. For those who have no idea what a fringe blanket is, take a look – it’s a photography prop used for newborn/baby sessions:
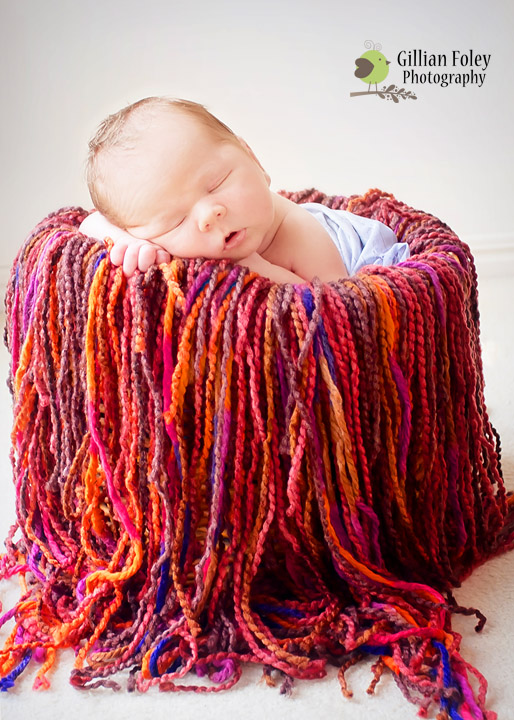
I balked at the prices for the ones I saw on Etsy ($50 – $150!!). I hate paying a fortune for something I know I can make myself with great results (who doesn’t??) so I set about to find an easy way to make one. There are several ways:
- some people just lay the strips of wool across each other and then sew it up the middle
- some use a long, single crocheted strip of wool and then weave the strips of wool through that
- some use a ready-made tea towel/square fabric as the middle (that’s the bit usually pushed into the basket/bowl) and then weave the wool through the edges
I opted to crochet my own square with wool I had lying around the house. I’d already bought the wool that would make up the fringes of my blanket. I went with multi-coloured chunky wool, which would make the process so much simpler as the colour ranges are already there to use, in a ball of wool. Of course, you could also buy several balls of wool in different colours and arrange the colours of the fringes as you like. You want the wool to be chunky or textured. I don’t think plain 4ply works unless it’s used to add to other textures.
Once I had my square crocheted, I simply worked out how long I wanted my pieces of fringe and started weaving them through the edge using a hook. They shouldn’t be the same length! The look you’re going for is textured and messy (if you will).
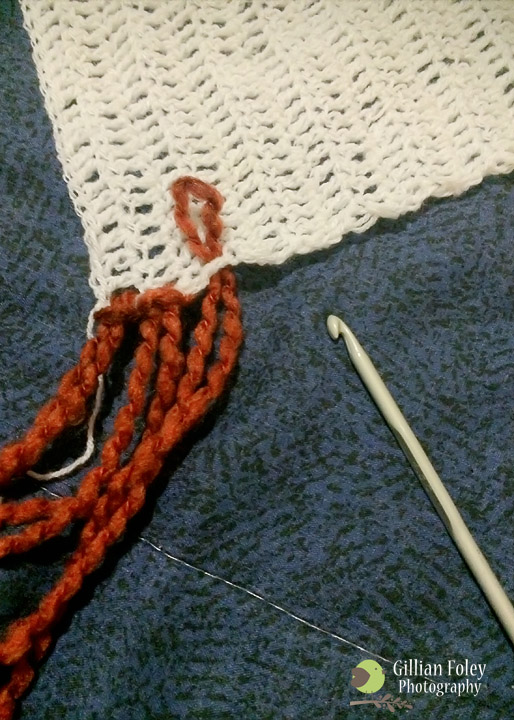
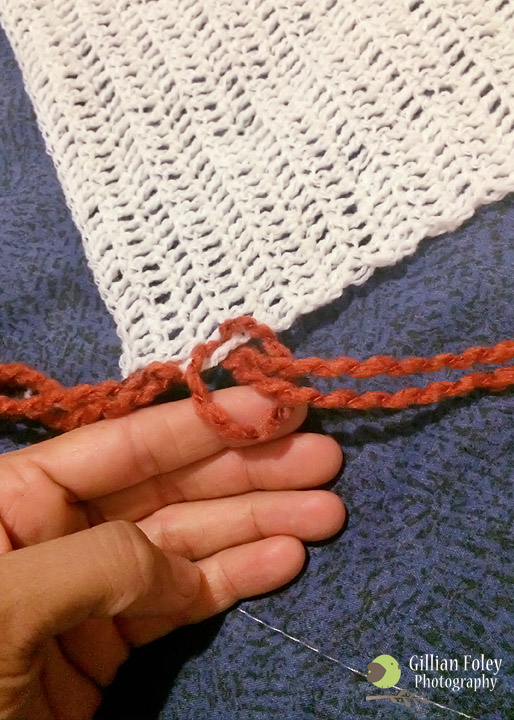
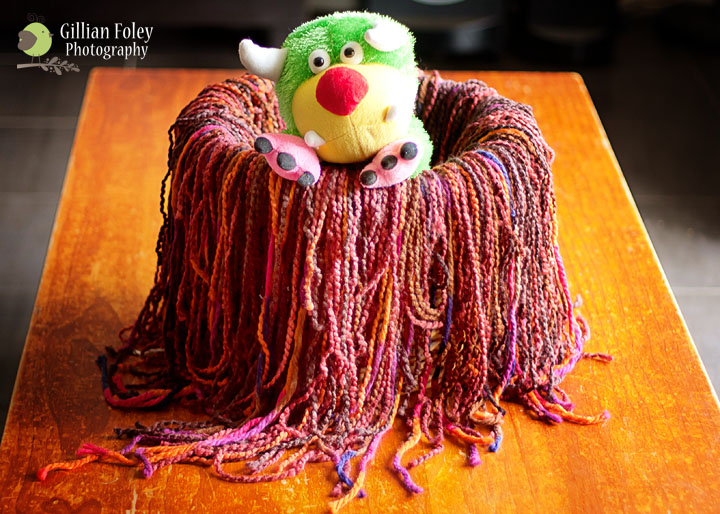
Keep working your way around and eventually….
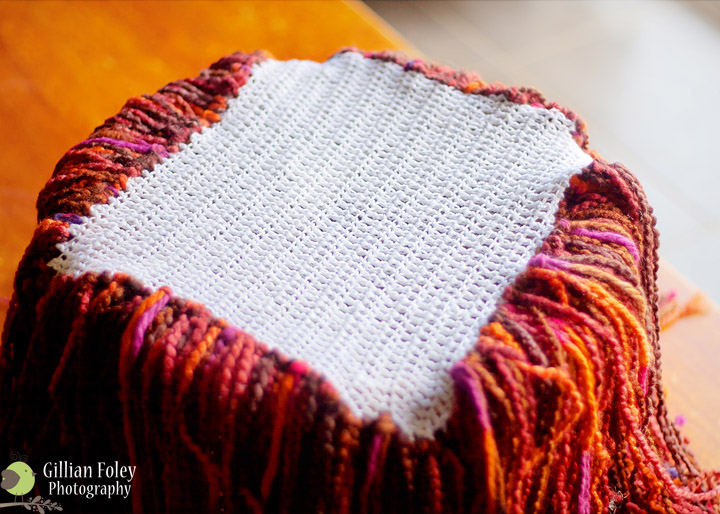
And then all you need is a little Monster to model your new prop…!
Of course, I have a couple of clowns for sons. Jase decided that my newborn cocoon and fringe blanket were to be used for quite another purpose:
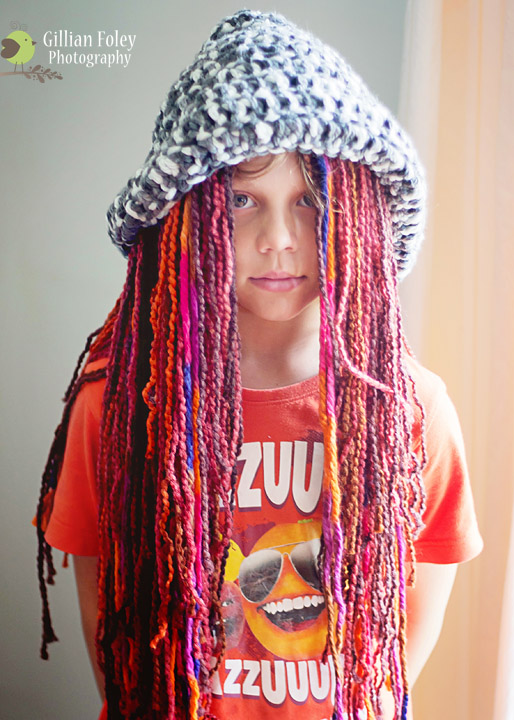
I digress…I hope you find this little tutorial useful. Like I mentioned earlier, there are tons of ideas on the net. Just find the one that works for you and go with it. You can’t go wrong. Just stick to colours that work together (another thing you can check Pinterest for). Good luck and please share links to your finished works below or on my Facebook page. I’d love to see what you’ve come up with! ~ Gill
PS Stay tuned for our Father’s Day craft shenanigans!

That is so neat
Thanks Shirlz! =D